Chickpea Pot Pie with Almond Flour “Cornbread”

IMG_3201

Ooooooh, the wind is a blowin’ with slightly more chill!  With the addition of more clothing layers and a small space heater (haha!) to warm my chilly toes, I am getting a big hankerin’ for some cozy, comfort food. So, I’m wondering how to achieve that delicious, hearty flavor while also maintaining some sort of healthy element? I decided to take two recipes that my family loves, kids included, and combine them.  This brought me to pot pie with a twist!  Well, I guess, a lot of twists – without compromising flavor.

IMG_3210

I’ve always loved pot pies of all kinds, but I wanted to make one without a wheat or corn-based crust. We’ve recently developed an addiction to a paleo-style “cornbread” recipe that you can find on the Hip2Save blog here. I used it for the crust.  There’s always risk involved when reinventing the wheel, but this recipe will not let your tastebuds down.  It is yummy, and in my opinion, better than traditional cornbread. However, I did tweak some of the ingredients a bit for this dish in effort to tone down the sweeter flavors of the original recipe, also leaving it not entirely, 100% paleolithic. However, I found that it paired well with the flavors in the chickpea pot pie filling I used.  I made a few changes to a pot pie filling (link below) that I’ve enjoyed several times.  I modified it some by adding a couple of different veggies, and substituting AP flour for a gluten-free option.  Still so good!!

IMG_3215

Chickpea Pot Pie with Almond Flour “Cornbread”

Inspired by Joanne Eats Well With Others and Hip2Save

1 cup carrots – sliced

1 large onion – diced

1 cup potatoes – chopped

1 cup green beans – cut to 2-3 inch pieces

2 cups cooked chickpeas

2 1/2 cups veggie broth

1/2 cup gluten-free flour mix

1 tbsp olive oil

1 1/2 tbsp salt

pepper to taste

Topping:

2 tbsp almond butter

2 tbsp butter (you could sub butter for more almond butter – I just ran out of almond butter)

2 tbsp Coconut oil

3 eggs, beaten

1 tablespoons honey

1 cup almond flour

1 teaspoon baking powder

1/2 teaspoon sea salt

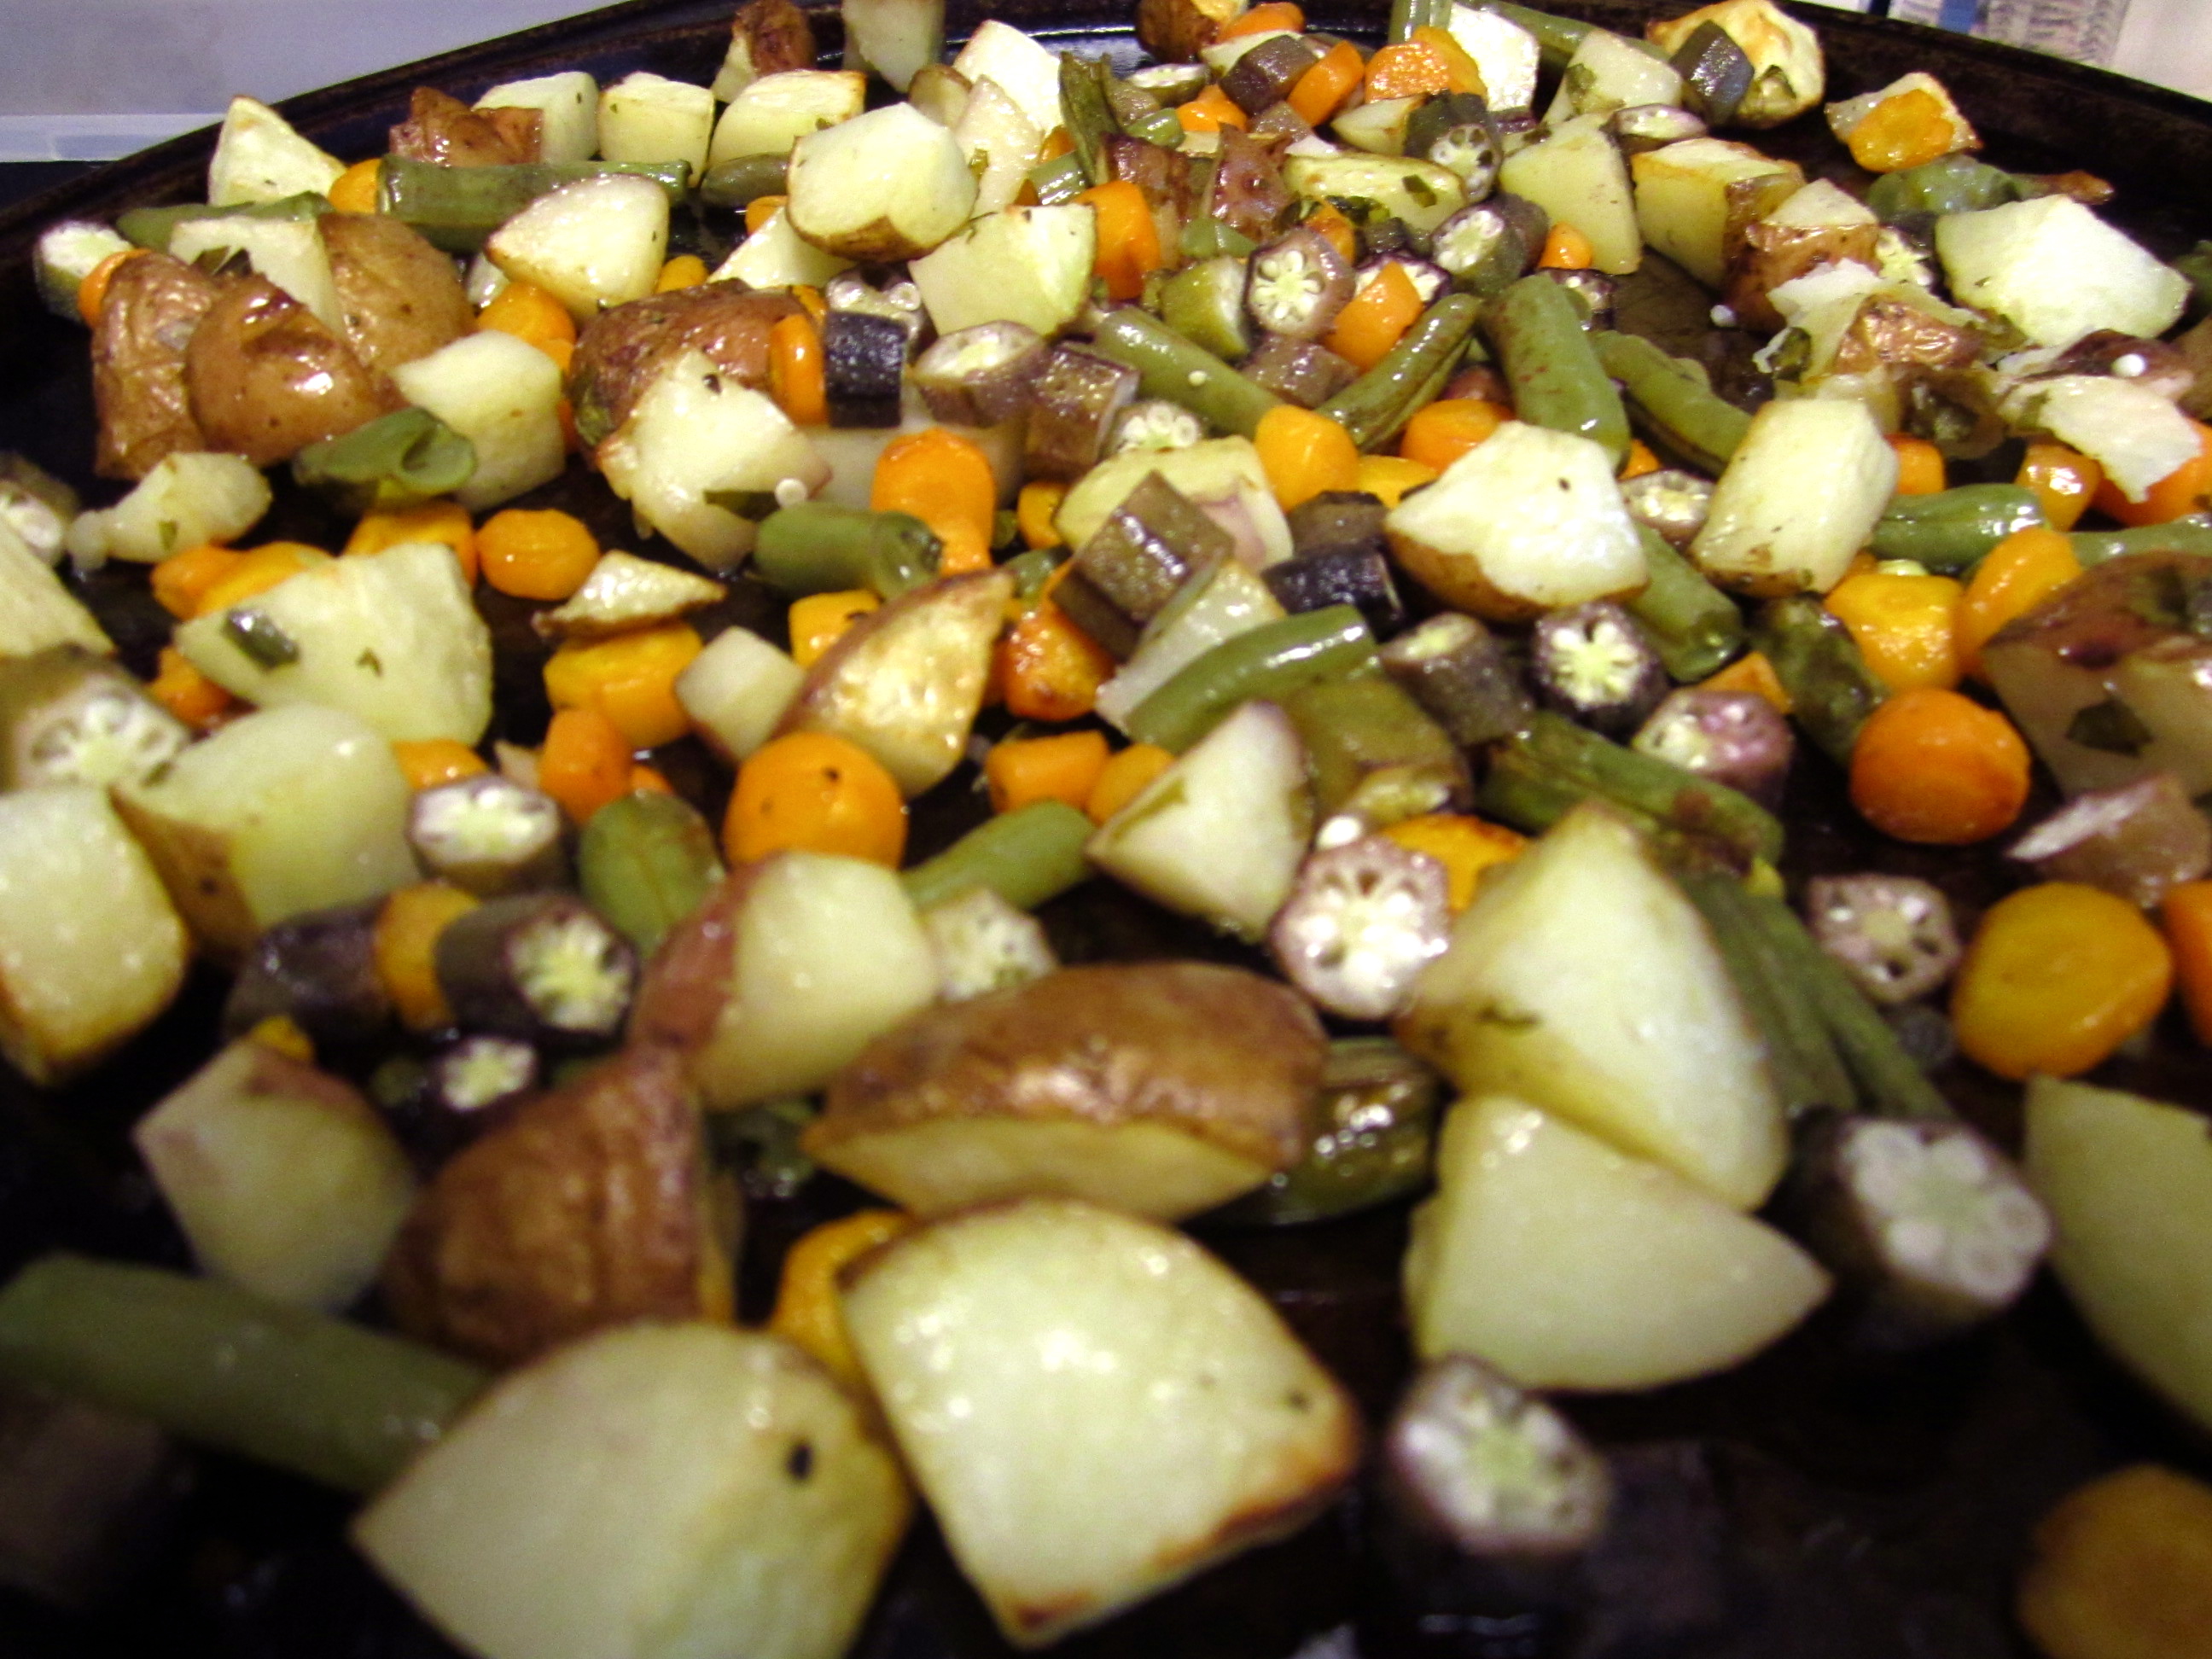
Preheat oven to 375F. Put carrots, green beans, and potatoes in boiling water until fork tender and set aside. Heat olive oil in large pan on medium. Cook onions until softened.  Then, mix in gluten-free flour just before pouring in vegetable broth. Slowly stir broth until the mixture begins to thicken, approximately 2-3 minutes. Pour in chickpeas, carrots, potatoes, green beans, salt, and pepper.  Continue cooking on medium for an additional 4-5 minutes with an occasional stir.  Transfer mixture to either greased ramekins or an 8 x 8 casserole dish.

To make the topping, heat almond butter, butter, and coconut oil in a small pot or microwave until melted. Remove from heat and mix in eggs and honey. Separately, mix all dry ingredients together. Then, combine the wet and dry ingredients, stirring well.  Begin pouring batter over the top of the filling and spread evenly. If using ramekins, divide mixture by using a couple of spoonfuls each until equally divided.  Put in oven and bake about 15 minutes or until browning on top. I went a little longer to achieve a crunchier texture. You may need to bake longer if using a casserole dish.

I love both of these dishes, so it was fun to combine them.  They turned out to be a huge hit at our house!!  Stay warm everyone!

Roasted Butternut Squash and Rosemary Soup: With a hint of Asian Pear

IMG_3184

So, here we are again, on to another season in this life of ours. This year, our family has experienced some large magnitude earthquakes along with their subsequent aftershocks. We have come to only know Mr. Normalcy as an acquaintance.  He used to be a very close friend of ours, but times, they have changed.  With Autumn’s arrival, we’re feeling old comforts resurface and burning scents of nostalgia fill the air as we remember all the autumns that have come before.  Except, this one’s different.  There’s an exchange between change and us, an interaction with the surrounding earth that only one can learn to have when they slow down and breathe in the life that sustains us. Now, we know not to allow restlessness, apathy, competition, and discontent distract us from being present for one another.  We know it’s only a matter of time before Inertia’s movements will begin to sway, taking us on another pendulous journey without pause, and teaching us to find center while surrendering to its to and fro motion. Embrace change, allow growth, improve life…….I keep telling myself.

I felt very appreciative while cutting into this butternut squash, knowing that it was grown nearby with love and passion for CHANGE from the status quo!  I’m thankful to live in an area that has the capacity to grow an abundance of food, and yet I also have the capacity to choose to eat it. I choose to shift my perception.  I choose to support these local people, my neighbors, when I can. I love that!

IMG_3129

And check out this butternut squash! I all but put on a worship service for it – hehe. It’s heart-shaped pod of seeds smiled at me when I opened it up, just ready to deliver deliciousness.

IMG_3148

IMG_3150

IMG_3169

Roasted Butternut Squash and Rosemary Soup

2 Butternut Squashes

2 sprigs rosemary – minced

2 onions – diced

5 tbsp olive oil

3-4 cups vegetable or chicken broth

Salt and Pepper

Preheat oven to 425F.  Cut butternut squashes lengthwise into halves.  Scoop out seeds.  Coat with olive oil and salt/pepper.  Place the squash in baking dishes facing up as shown in the picture above.  Roast for about 35-40 minutes or until tender and browning on the outside.

While roasting the squash, cut your onion and mince the rosemary.  Heat 3 tbsp of olive oil in a large pot on medium heat.  Cook onion and rosemary until the onions are translucent.  Pour in broth.

Once squash is done roasting, scoop out the insides and put in the pot with the broth and onions.  Stir and take off heat.  Put soup into blender or food processor and puree.  Put back into pot and serve or add additional broth depending on your preference of thickness.

Roasted Asian Pear: If you want to add a hint of sweetness, thinly slice an asian pear.  Toss with a smidgen of olive oil and roast on 400F for about 15 minutes or until golden brown, flipping half way.  Place in soup with a rosemary sprig to enhance aesthetics. 🙂

Roasted Vegetable and Chickpea Soup

IMG_3082

Fall has been teasing me these last few weeks, and I know I’m not alone when I declare that Autumn is my favorite season with Spring coming in at a close second. ‘Tis the season for multi-colored leaves that light up the Ozark Mountain canopy, baked apple pie candles, candy corn, bad costumes, and, sometimes, even worse Football.  What I haven’t mentioned is the chili, the vegetable soups, and the hardy cuisine that help prep us for adequate winter hibernation (i.e., my need for more frequent afternoon napping). Is it too early to hit the wassail? Oh, how I love the smell of hot cider wafting through the air on a cool, Fall afternoon! I’ve gotta get on that since we’re amidst harvest time for apples!  While we wait for our local apples to be plucked from their trees, lets partake in some soup, shall we?

We only have a few more weeks to enjoy the great bounty that our hard-working farmers have provided this year, and I get a little bit sad knowing I’m gonna have to spend more time at the grocery store and less time strolling around the Farmers’ Market.  Fortunately, there’s still a lot of delicious goodies being harvested right now, especially those that make for a delectable bowl of soup. With exception to a few ingredients, all of the veggies in this soup were grown right here in NW Arkansas!

IMG_3076

IMG_3079

IMG_3082

Roasted Vegetable and Chickpea Soup

6 yukon or red potatoes – cubed

2 medium carrots – sliced

1 bunch of green beans – halved

2 cups okra – sliced

1 onion – diced

3-4 large tomatoes – quartered

2 cups chickpeas (cooked or canned)

handful fresh basil – chopped

1 tbsp fresh oregano – chopped

3-4 cups vegetable broth

olive oil

salt and pepper to taste

Preheat oven to 400F. Cut all of your veggies, keeping tomatoes separate. With exception to the onion, and the tomatoes that were set aside, toss all vegetables in olive oil, half of basil, and salt and pepper.  Spread them onto a greased baking sheet. Toss tomatoes in olive oil and salt and pepper and place in a glass baking dish. Put all veggies in the oven for approx. 35-40 minutes (or until brown and tender), stirring halfway.

In the meantime, pour a tbsp of olive oil in a large pot over medium.  Cook onion until tender. Then pour in vegetable broth and chickpeas.  Once veggies are done, add to pot with salt and pepper.  Bring to boil, turn to low, throw in remaining basil, and let simmer for 15 minutes.  Serve hot on a cool autumn evening.

I sprinkled a little parmesan on top for added pleasure, but it’s still delish if you want to forego this part!

Wanna reduce your okra slime?

See here for help!

Roasted Veggie and Pesto Sandwich

IMG_2867

With so much transition occurring in our lives right now, sometimes we just need a little comfort food to make our bellies happy and recenter ourselves. I treasure my family time and the precious gift of time with my babies. Their childhood cannot be recaptured.  When it’s gone, it’s gone.  These days, no amount of money seems to be worth my time away from them, but realistically, I guess we do have to keep the lights on around here! So while I have this opportunity to watch them grow from a closer distance, I want to savor every sweet moment. This brings me to our lazy Saturdays of early morning tickle monster, followed by repeated strolls around the Farmers’ Market, and winding down before nap with some yummy food.  This recipe was a perfect combo of comfort and simplicity, and I actually used leftovers from a few nights prior. Hope you enjoy!

IMG_2855

I used leftover roasted veggies and reheated in the oven.

IMG_2859

IMG_2864

IMG_2868

Roasted Veggie and Pesto Sandwich

1 squash – sliced lengthwise then halved

1 zucchini – sliced lengthwise then halved

1 green bell pepper – sliced

3-4 yukon gold or red potatoes – quartered

5-6 plum or cherry tomatoes (or any tomatoes you might have)

fresh mozzarella

1 french baguette

olive oil

3 tbsp pesto sauce

4 tbsp mayo

Preheat oven to 475 F.  Cut up your veggies, leaving your tomatoes whole and kept separate.  Toss all other veggies with olive oil and salt and pepper.  Lay out across baking sheet and let roast for about 30-35 minutes, stirring every 10 minutes.  Toss tomatoes lightly in olive oil and salt and pepper and put on sheet the last 10 minutes. Reduce oven to 400 F.  Once cooled, toss veggies in 1 tbsp of pesto. Slice tomatoes into thirds and set aside.

While veggies are roasting, slice baguette into 1/2 inch slices.  The ones in the pictures were a little on the thick side, and I’d recommend slicing them more thinly. Brush each slice with olive oil and place on baking sheet.  Put in oven and bake for about 15 minutes, flipping halfway and baking until crispy.

Slice your mozzarella. Mix 2 tbsp pesto with mayo and spread onto 1 slice of baguette for each sandwich.  Place pesto veggies on each sandwich, top with tomatoes and lastly mozzarella before placing slice of baguette with pesto mayo on top.  Place sandwiches back in the oven until mozzarella is melted.  Serve immediately.  Enjoy your lazy day!

The Leaning Tower of Eggplant

IMG_0839

Say the following words and accent the second to the last syllable in each of them: Brunello, limoncello, Montalcino, bianco, pantaloni. What do you hear?  Ahhh….yes, “bellezza.” My husband and I generally can’t shut up when it comes to discussing travel, especially when it comes to Italy. If you ever have the opportunity, you must see the beautiful land of Italia. We traveled there a few years ago, and it really messed us up in a big way. I developed a cooking addiction and even began making my own limoncello.  In an attempt to relive the aromi italiani and entertain my 6-year-old son’s dream to one day see the Leaning Tower of Pisa, I used some gorgeous eggplant and tomatoes I got from the Fayetteville Farmers’ Market recently and made a tower of our own; although this one’s edible! I drew inspiration from the colors of the Italian flag by using pesto, tomatoes, and mozzarella. ‘Tis the season for traditional basil pesto, so I’m enjoying using it in every which way. Who knew eating in season could be this much fun.  May you be transported to Pisa for the duration of your meal! Don’t forget to pair with a nice Italian wine or even some wines produced right here in Arkansas!  See here for some wine pairing recommendations! Ciao!

IMG_0518IMG_0701IMG_0757

Rome and Cinque Terre, Italy 2011

IMG_0878IMG_0766

IMG_0895

Subtleties of Cinque Terre, Italy 2011

IMG_0794

Vernazza, Cinque Terre, Italy 2011

Leaning-Tower-of-Pisa

(2010). Leaning Tower of Pisa Wallpaper. Retrieved from

 http://cdn.stormgrounds.com/wallpaper/Miscellaneous/Leaning-Tower-of-Pisa

Eggplant Tower

 IMG_0839

Recipe

4 Eggplant globes – sliced

3 tomatoes – sliced

fresh mozzarella balls – sliced

1/4 cup pesto – see below for recipe

1 cup pasta sauce

olive oil to coat eggplant

salt and pepper to taste

4-6 fresh basil leaves

Preheat your oven to 400F. Slice eggplant into 1/2 inch slices. Rub each side with olive oil, and then lightly salt and pepper. Place eggplant slices on baking sheet and roast in oven for 20-30 minutes, flipping halfway until slices are golden brown.

While the eggplant is cooking, slice your tomatoes and mozzarella into approximately 1/4 inch slices.  Place tomatoes in a baking dish, drizzle a tablespoon of olive oil, and salt and pepper to taste.  Put in oven for about 10 minutes.  Pull out and cool.

Once eggplant is done, begin building your towers.  Place one slice of eggplant on baking sheet, spread spoonful of pesto on top. Then, dollop with a spoonful of pasta sauce. Place slice of tomato on top of sauce, top with a slice of mozzarella, and sprinkle with salt and pepper.  Repeat this two more times, ending with eggplant, pesto, pasta sauce, and mozzarella.

Put towers back in oven and bake until mozzarella is melted, about 5-10 minutes.  Place your towers on plates and top with fresh basil.  Yummmmm!!

Basil Pesto Recipe

1 cup packed fresh basil

2-3 cloves garlic

1/2 cup parmesan cheese

1/4 cup unsalted pumpkin seeds

1/2 cup olive oil

salt and pepper to taste

Place basil, garlic, and pumpkin seeds in a food processor and process until coarsely chopped.  Add olive oil and continue to process until mixed entirely.  Once mixed, add salt and pepper to taste and stir in cheese.

Either serve immediately, keep in fridge for a few days, or keep in freezer by omitting the cheese, topping with extra olive oil, and storing in an airtight container.

Instant Jam: The Horrifying Gateway to Canning

Please, please, to those of you who are deeply considering the thought of making instant jam, I beg of you to proceed with the utmost caution as this could potentially lead to a far more serious addiction such as canning. I know my admission comes with the price of public humiliation, but my hope is that it may benefit others who might unknowingly be predisposed to a canning addiction. It all started a few weeks ago when I bought these vibrantly colorful and deliciously juicy strawberries from Dickey Farms at the Fayetteville Farmers’ Market. We had run out of our local Paw, Paw’s Jelly one Saturday morning, and in effort to allay the effects of a severe jelly withdrawal, I took the remaining half pint of strawberries that were in the fridge to make my very first batch of instant jam. One fix of this delicious, homemade instant jam was all it took before I became a full-fledged, instant jamming addict. Now,  instant jamming just strawberries isn’t enough as I can’t seem to stop obsessing about different ways I can fill those cute 8oz. jars with sweet, summery goodness. The uncertainty of my future is frightening as I continue to seek harder, more complicated kitchen activities such as making non-instant jam, and sadly, as humiliating as it may be to admit, extreme CANNING.

Here’s how it all happened. All I needed were fresh strawberries (or other fruit), sugar, and pectin.

IMG_2686

I combined the strawberries, sugar, and pectin using the recipe on the back of this package (I later returned to the store for purchasing of a large bottle).

IMG_2691

I Stirred for the recommended few minutes and let it set in the jars.

IMG_2687

Then, it’s ready to be either eaten or put in the fridge or freezer!

IMG_2690

See how this can easily turn into an addiction? I’m now trying to use any and every excuse to eat jam!

A Meal for a Little Ukrainian Soul: Borsch/борщ

Today, surprisingly marks 3 months since we brought our sweet, little boy home from Ukraine. It seems like an eternity ago. Roman is all things wonderful and, most certainly, all things boy.  He loves the outdoors and has an energy that is irreplaceable (in multiple ways – haha!) – although I’m bound and determined to keep up with him despite my ratchety knees. Even when we’ve spent the afternoon saying, “quiet hands, Roman,” he has a way of immediately melting your heart with his sweet disposition. Little Roman is assimilating nicely into a world of Friday night pizza, frequent outings to Three Crazy Berries (of which we affectionately tease our oldest by calling it Three Lazy Harries) for frozen yogurt, and trips to see both the Murphy and Welch sides of the Family.

While I want to create new and beautiful memories here at home, I also want to preserve important pieces of his Ukrainian culture that might have brought him comfort. He loved borsch while in Ukraine, and last week was the first time he’s had it since we’ve been home. Borsch is a Ukrainian soup that’s main ingredient is beetroot.  I was excited to finally make this for him now that beets have become readily available here locally. When I sat that bowl down in front of him, it was like the rekindling of an old flame. There was a lot of slurping goin’ on and “mmmm, mama, good soup.”  It was soooooo precious to watch that red-colored soup drip-drop all over his cute, little face! He was one happy boy!

Not being a native Ukrainian, I obviously don’t have the recipe memorized by heart. So, I searched and searched for the recipe that seemed to most closely resemble those I tried while over there. I found this recipe on Allrecipes.com. I did, however, use veggie grounds in place of the pork sausage. It turned out to be pretty accurate.  I’m sure there are several slight variations as during my long stay, I had tried a few vegetarian variations as well as some with fish. Most everything in this dish was able to be sourced locally!! The bowl below is topped with a hefty serving of dill – a staple ingredient in Ukraine. Dill is a must!! So, get you a little taste of Ukraine  and try out some Borsch! It’s great for a lazy, Harry….I mean a lazy, rainy day.

IMG_0532

Rainbow Chard, Shiitake Mushroom, and Cheese Quiche

I’m walking around the Farmers’ Market a few weeks ago and run across this slightly intimidating, colorful bunch of leafy greens below.  I had never cooked with rainbow chard, but thought it would at least make for a pretty dish if its flavor didn’t hold up to its beauty.  Again, like kale, spinach, and other leafy greens, rainbow chard is extremely nutrient dense, carrying robust amounts of vitamins A, K, E, C, and many other vital nutrients such as maganese, magnesium, iron, and potassium (WHFoods.com, 2001-2013). So, no one can argue against its nutritional benefits.

IMG_2517

I get it home and am just mesmerized by its poignant colors and couldn’t wait to decide how I wanted to use it in the kitchen.  I open the fridge, tap my foot in thought, and see some shiitake mushrooms, a half block of smoked gouda, half full container of fresh mozzarella, and a carton of eggs.  I immediately thought, quiche! Thus, the creation of Rainbow Chard, Shiitake Mushroom, and Cheese Quiche shortly followed.  I love quiche and its versatility.  You can throw so many different food combinations together and still strike gold. For this quiche, the eggs, rainbow chard, scallions, and shiitake mushrooms were all locally produced thanks to our wonderful NWA farmers!

First, I made a crust with few ingredients using this recipe . It was incredibly easy, even for first-time chefs. I was extra grateful because it was a weeknight and my cook time was limited.

Then, over medium heat, heat your olive oil, sauté scallions and rainbow chard stems until soft.  Then, add shiitake mushrooms and once cooked for 1-2 minutes, add the rainbow chard leaves. Continue to sauté until wilted. Take off heat, let cool, and then place in the bottom of quiche.

IMG_0333

Preheat oven to 350 F. For remaining quiche, mix eggs, heavy cream, spices, and salt and pepper together in mixing bowl. Spread cheeses on top of chard mix. Then, cover cheese with egg mixture. Gently cover quiche with aluminum foil. Place in oven and cook for 30 minutes, removing foil the last 10 minutes. Check center with fork to ensure that it’s cooked through.  I served this with some quick-roasted asparagus. I couldn’t believe how delicious this turned out. Huge hit with the hubby.

IMG_2547

IMG_2545

Rainbow Chard, Shiitake Mushroom, and Cheese Quiche

Pie crust – pre/homemade (see above for crust recipe)

One bunch Rainbow Chard – thinly sliced leaves and upper parts of stems

1/2 cup Shiitake mushrooms – sliced

1 bunch scallions (5-6 scallions) – sliced

1 1/2 -2 cups shredded cheese (smoked gouda, gruyere, fontina, or mozzarella)

6 eggs

1/2 cup heavy cream

1/2 tsp nutmeg

salt and pepper to taste

Kale: Raw Style

We had this dish last week.  Dustin and I enjoyed it, but our palates have had a lot more time to refine themselves than our two sons’ have – haha! They were troopers and tried it, even took multiple bites. I would save this one for a lunch or a solo dinner.  Extremely nutritious and healthy, but wouldn’t say it’s kid-friendly. I found this recipe on Leaf Parade.

 IMG_2538